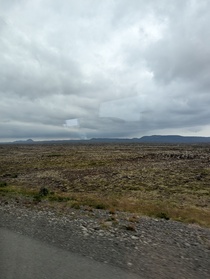
Cycling: Iceland Ring Road Day 0: Preparations, Airports, and Arriving
How I prepared for my Iceland cycling trip and my experience flying from Berlin to Iceland.
- Planning
- Packing
- Escape through BER Airport
- Keflavík to Reykjavík
- Bike Assembly and Test Ride
- Night Before
- Photos
- Gear List
- Interesting Links
Planning
The first step of preparations for me is to make a plan. In my opinion, planning a bicycle tour is like all project planning in general. I start by creating an aim and finding a route to take to reach that aim. I then break it down into achievable chunks to have a set of milestones to operate against. In the case of cycling, that’s typically the cycling segments per day which I create by cutting the full route into rough ˜100-150km distance segments. These chunks and milestones get tweaked and adjusted to account for problem sections, limitations, accomodations, slack time, and get judged against past experience and for feasibility until I have confidence in the breakdown feasibility. That breakdown can then be used to determine a timeline and packing list to help plan all the logistics around it (travel to the starting point, accomodation, costs, supplies needed, travel back, slack time, etc). And there it is, a plan, ready to use.
The important thing I keep in mind though is that the plan is only that, a plan. When the bike touches the road (or gravel), it’s all up in the air and I have to keep flexible and ready to adjust. Whether that be changing timelines or changing milestones, adding shortcuts or adding detours, or even completely changing the aim halfway through. I believe the key to success is to be prepared but be flexible.
Below is the recap of the planning I did for this tour.
Planning - Uncut Gems
The planning for my cycling tours always start with the roughest uncut gem, an aim with no details. In this case, it was: “Cycle in Iceland”. Cycle where? How long? Well, for me, that’s figured out during the planning phase.
The idea on its own is great, Iceland! A beautiful place with lots of unique nature and a reputation as a tough rugged landscape to cycle in. But I knew nothing more than that to be honest (beyond having seen many cool Youtube videos of peoples cycling blogs) so I dove in to the google results for “cycling Iceland”. I noted down some of the more interesting links which you can find below in this post.
I quickly learned that there are many people cycling in Iceland and that there are many different routes to cycle (in the highlands, around certain areas such as the Westfjords, or around the entire island). It seemed the most popular route (and easiest) was the No. 1 main road that circled the entire island. This is a route on the most well-maintained road in Iceland, that is well-travelled, and populated with touristic sights and towns. This fit me particularly well as I enjoy a longer distance route filled with constantly changing scenery and would give me a good general tour of Iceland. It also would be significantly easier to attempt vs travelling into the highlands where I would need to plan appropriately my supplies and emergency options given the remote wilderness. So I fixated on that and began more concrete planning.
So now that I had an aim, cycle the No. 1 road around Iceland in a circle, the real planning could begin.
Planning - Itinerary
With the aim in hand and a rough idea on the general route, I could now start to create an itinerary. Something that could be used as a guide to determine how much time is needed for the cycle route, what the route segments would look like, what are feasible chunks of the course, where are the trouble points and how much slack time needs to be injected into the timetable to avoid failure or stress.
I jumped into Google maps on the laptop and and began generating routes between different points to figure out segments that lined up to feasible cycling distances that I could achieve in a day (˜100-150km). There is no bicycle routing option on Google Maps in Iceland however I learned that bicycles can ride on almost any road in Iceland (except through some select tunnels) so I routed using the walking option. After playing around with the routes in Google Maps, I switched to the Garmin Connect web app and routed them there as saved routes that I could refer back to and load onto my bicycle computer.
These rough segments gave me a good breakdown of the entire route, with the towns and campsites connecting them acting as milestones and the number of segments lining up to the number of days I would need. I had confidence in the planning as I knew from experience that I could handle the cycling segments, the elevation profile (very important, always consider elevation when planning a cycling route), and the accomodation situation (campsites). I took these and plugged them into a Google Doc, broken down into day-by-day sections and filled with screenshots of the route segments, accomodation options, food options, supply stops, and notes about the possible changes (eg. what options are there to push further given good cycling time, etc).
I came up with a plan that fit fourteen days roughly. Thirteen days were required to cycle the route (at a low-risk pace) and an additional day added to the plans for emergency slack (getting rained out, bike issues, etc). It had to be in the months of July/August as these were the warmest months in Iceland and outside of that would require more gear and supplies (which are difficult to carry on the bike with bikepacking bags).
I took this timeline and combined it with research into the weather and cycling conditions in Iceland and came up with a packing list. I spent many days playing around with this list, trying to reduce to a bare minimum that could fit on the bike and finding low-priced options to purchase for things I did not yet own or did not have confidence in for the Iceland environment. You can find my gear list lower down on this post.
At this point I had my itinerary sorted in Google Docs with a breakdown of the cycling route, dates, and packing list. I could proceed with making it concrete.
Planning - Logistics
The first concrete step to turning the plan from just a plan to the plan was to figure out and book the logistics and travel arrangements to get to the starting point in Iceland and to return home. To get my bike there, my only option was to fly it. I knew from experience that it is fairly trivial to fly it as sports equipment and I already owned an EVOC bike bag to package it in. Although I had never flown the carbon bike in it before, only a steel bike. I got some advice from a friend who flew from Norway to Berlin to do some cycling with me and learned that my bike bag needed an additional optional piece to ensure a safe travel for the carbon frame compared to my steel bike. I was missing the EVOC Bike Bag Stand Pro, a secure stand that would strap my bike firmly into place in the bag. So I had to purchase that to make the transport of my bike possible.
Flights themselves were trivial also. While it was not the cheapest, I was able to get flights on Play Airlines flying direct from Berlin to Keflavík and back with the bike for a reasonable price. With Play Airlines, the bicycle luggage price was a reasonable 60€ each way.
I knew I’d need to store the bike bag somewhere during my cycle as I needed it for the return flight and it was not something I could bring with me while cycling or trivially store in a locker due to its size. I had read in several blogs that people had luck with a car rental service at Keflavík airport that stored bike bags but I contacted them and found they no longer offered this service. I tried with two hotels in Reykjavík but had no luck convincing them to hold the bike bag (although the 101 Guesthouse Hotel offered to store it an exorbitant price of 4000ISK per day). I decided to save time at the expense of money and use [bikerent.is][https://www.bikerent.is/bike-box-storage.html] to store the bike bag. This turned out to be an easy option and the guy running this service was very friendly and easy-going, so I was satisfied with this despite the cost.
Later I learned from other cyclists along the route that they were able to store their bike bags in hotels in Keflavík, so I think that there is better luck if you start and end your cycling trip from Keflavík rather than Reykjavík. I also met a cyclist along the route that took a different approach. He simply disposed of his cardboard box at the airport and purchased a new box from a bike shop in Reykjavík. If I were to do this again, I would try the Keflavík hotel options instead to try and save money on the bag storage.
Now with logistics sorted, I needed to ensure my planned equipment was solid.
Planning - Test Phase
The most important part of the planning for me are the test rides. It’s vital to test the bike and equipment that is planned to be used to ensure the plan is actually feasible and to have confidence in the gear. The easiest way to do that is to make small test trips, a weekend ride for example, or ensure past experience with the bike/gear that matches up with the planned trip. I took a few weekend rides with friends in Poland with the bike and parts of the gear (most important for me was to test the saddle bag as this was new to my setup) to ensure I could rely on myself and the gravel bike for handling the distances I planned in my daily segments.
There were three key things to test with these rides. One was to ensure it was realistic to endure the saddle soreness and fatigue with the gravel bike for a longer distance cycle. The second was to ensure any item I packed with me to Iceland was something I could have confidence in because once I was on the road, I would not be able to trivially re-supply given the remote nature in Iceland. The third was to ensure my own physical capabilities were up to scratch and that I could handle the distances/speed. Although I had past experience cycling that distance/speed, it’s important to ensure I was still capable as it was a year since my last long distance tour.
I did not test all the equipment I had planned such as the tent or cook gear because I had past experience from previous trips, so I already had confidence with those items. Combining these past experiences and the test rides gave me a solid confidence in the bike and the gear I had planned for Iceland, so it was ready to happen.
Packing
A week before the trip, I practice packed all the bike bags on the bike with the supplies I would need for Iceland to ensure I could fit everything on it. I had bought a new handlebar bag from Decathlon that I had little confidence in but it worked out perfectly in the practice packing session. I also bought a new Deuter frame bag to hold the camp stove in and luckily the practice packing showed me that it could not hold the full thing but after removing unnecessary parts (who needs a pot lid?) I could make it work. Normally I would take the bike cycling with the bike bags attached to ensure they work okay in operations but I had confidence from some past trips so I could skip that.
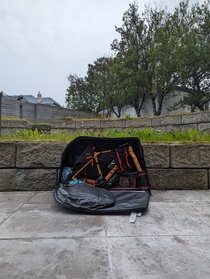
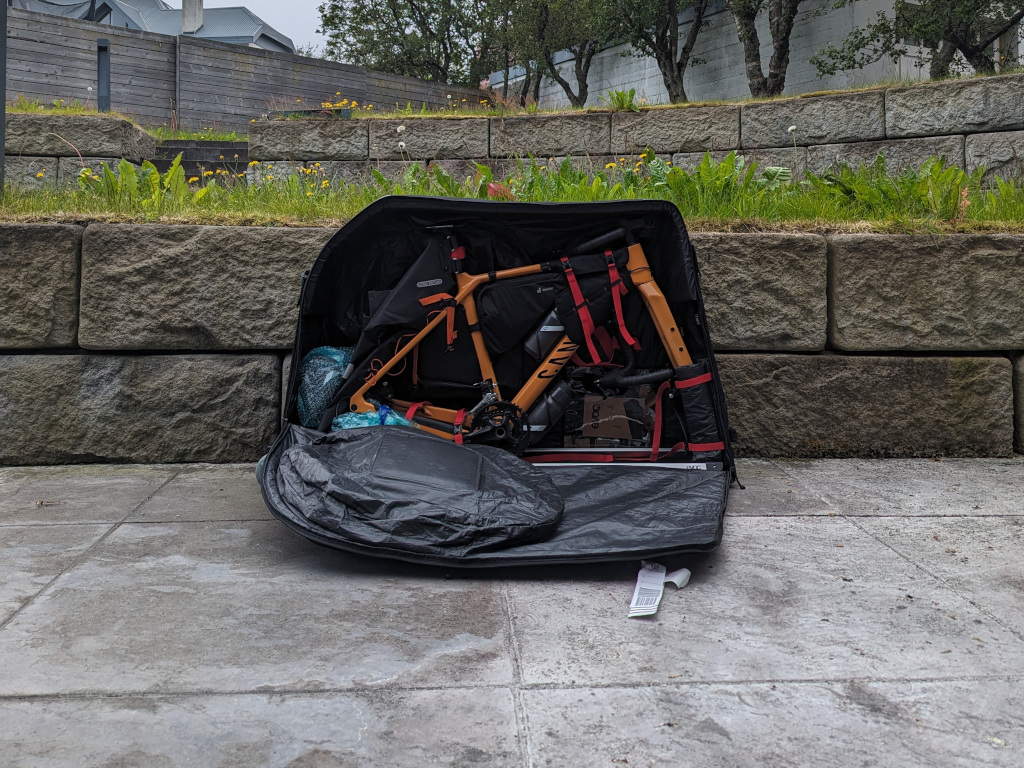
I packed the bike in the bike bag several days prior to the trip. I did not want to leave this to the night before as it can be disastrous with the bike if I needed to buy some additional tools or parts to disassemble/assemble it. I also packed my supplies early too which was wise because I discovered I could not fit them into any bag I owned. So I had time to buy a small duffel bag from Decathlon to fix that.
I also discovered that my helmet, saddle bag and frame bag could not fit into my check-in luggage so I instead smuggled them in the bike bag. Officially you’re not meant to store anything other than the bike in the bike bag when flying but it seems everyone does this. I bubble wrapped the helmet and put it in a spot where it would not shake around. I strapped the empty saddle bag and the empty frame bag in place on the bike. No one was the wiser.
My word of advise: pack your gear with enough time to be able to find problems and resolve them. And do consider smuggling the empty bikepacking bags on the bike itself.
Escape through BER Airport
Sunday, 23rd of July, 2023
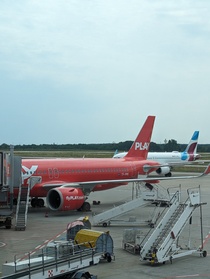
My flight to Keflavík airport from Berlin airport was scheduled at midday. I felt this should be pretty stress free but of course I was wrong. The normal train route I would take was cancelled due to construction and I missed a connection on the longer detoured route because carrying around the heavy bulky bike bag in a city where none of the elevators ever work or are even findable, takes time. This had me stressed and rushing last minute to the check-in counter.
I had a past experience at BER airport with flying a bicycle and it was a disaster site. Check-in queues can be long, it takes time to load the bike bag at the appropriate oversized baggage area, and the airport security is nightmarishly slow. I was very worried I was walking into that nightmare this time coming late to the check-in.
Luckily, it all worked out. No queue for check-in, no issue doing the check-in, and no issue dropping off the bag at the oversized baggage area. The security line was brisk and almost empty and I made it with plenty of time.
Next thing I knew, I was on a flight to Iceland.
Keflavík to Reykjavík
I arrived at Keflavík airport expecting a tiny airport but was surprised to find a fairly major airport. Given it’s an Schengen airport, the departures and arrival terminals are mixed together so I could see the different shops and restaurants intended for departing guests. Signs stood up that noted only departing guests with a valid boarding pass could use these services, so I hurried down to the baggage carousels.
The bags came quickly and out of a hole in the wall, bicycle boxes were pouring out (okay, I exaggerate). Quickly came my EVOC bike bag and I walked my way out to the Airport Direct bus stop. I saw the Fly Bus next to it which was packed with people while I found myself alone waiting for the next Airport Direct bus.
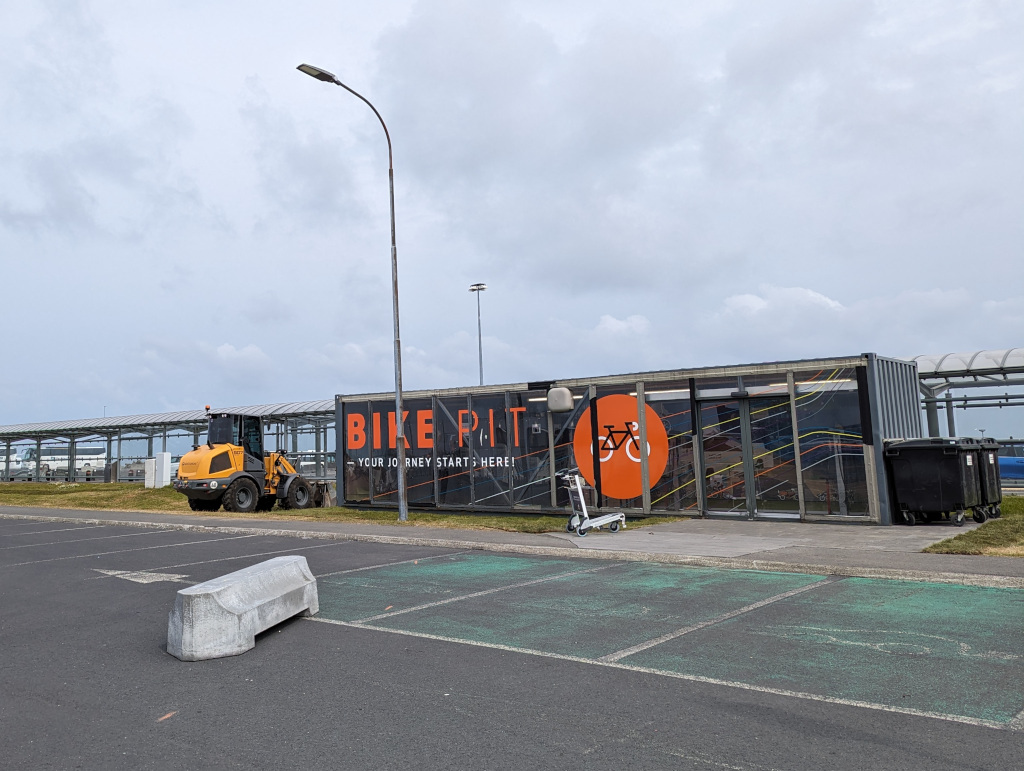
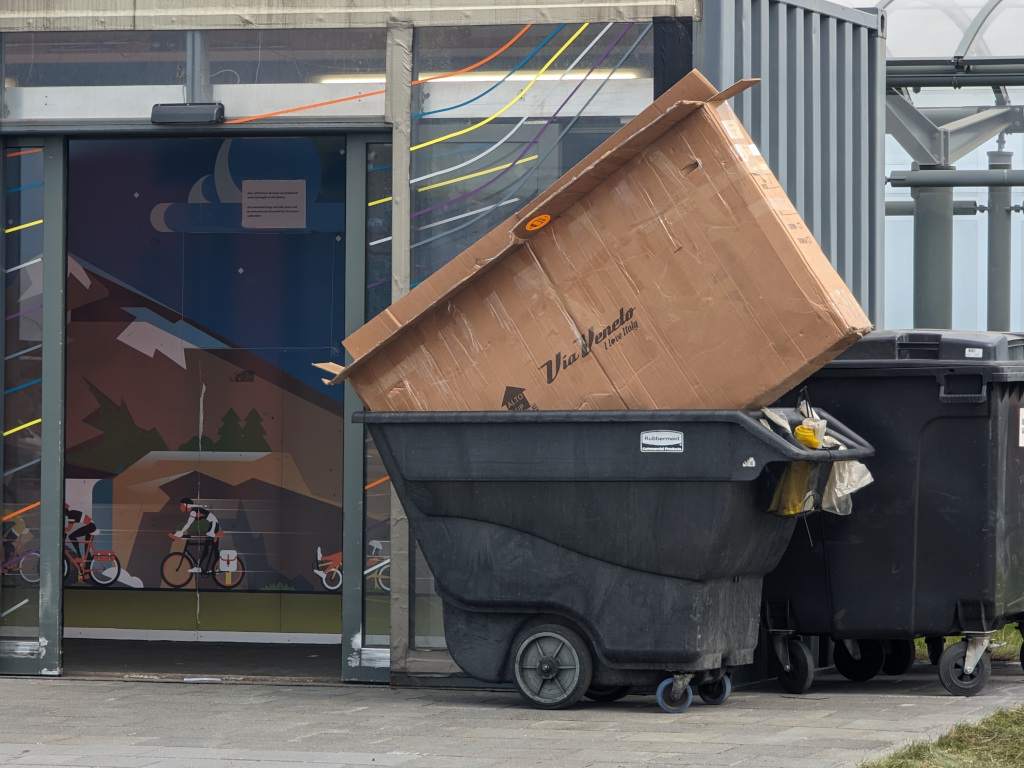
I could see the famous Bike Pit where it was possible to unpack your bike and assemble it, before setting off on your cycling trip directly from the airport. I had discounted this idea because I could not find a way to store my bike bag anywhere in the vicinity of the airport (there was one shop that all past blogs used to point to for this service but I contacted them and learned they have since ceased this service). I saw an airport worker taking the abandoned bike boxes in the bike pit to be disposed off, so in case you’re thinking to try your luck at finding a random box to fly home with, I do not think it will work.
Eventually the airport direct bus took off with the low number of five passengers. Which, to be honest, is great. A very comfortable ride and the driver was very nice. For transporting the bike, it was not an issue. I would recommend this service as a good alternative to the Fly Bus.
Bike Assembly and Test Ride
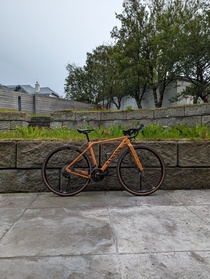
I checked in to the Norðurey City-Garden hotel and pulled the bike bag out into their backyard garden. Assembly was quick but stressful when I accidentally damaged the frame with the chain of my bike as I was distracted trying to fix an issue with the brakes.
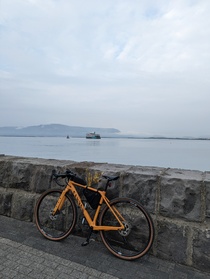
Luckily, the bike frame is fairly resilient and I wasn’t too worried about the location of the damage. Carbon frames are risky but I have confidence in the Canyon Grizl with surviving smaller cuts/scrapes due to its thicker reinforced frame compared to the typical road bike frame. I put some blue electric tape over the damage to hide it and decided not to worry.
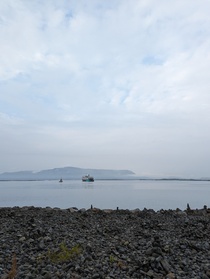
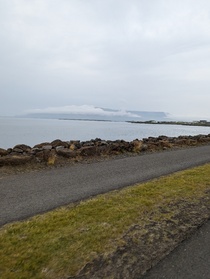
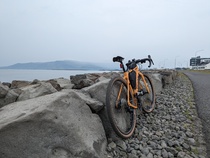
With the bike assembled, I filled the frame bag with tools and took it for a test ride. It was incredible to zip along the bike path on the north coast of Reykjavík, feeling the ocean breeze, knowing I was on the verge of starting my trip.
Night Before
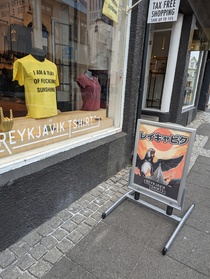
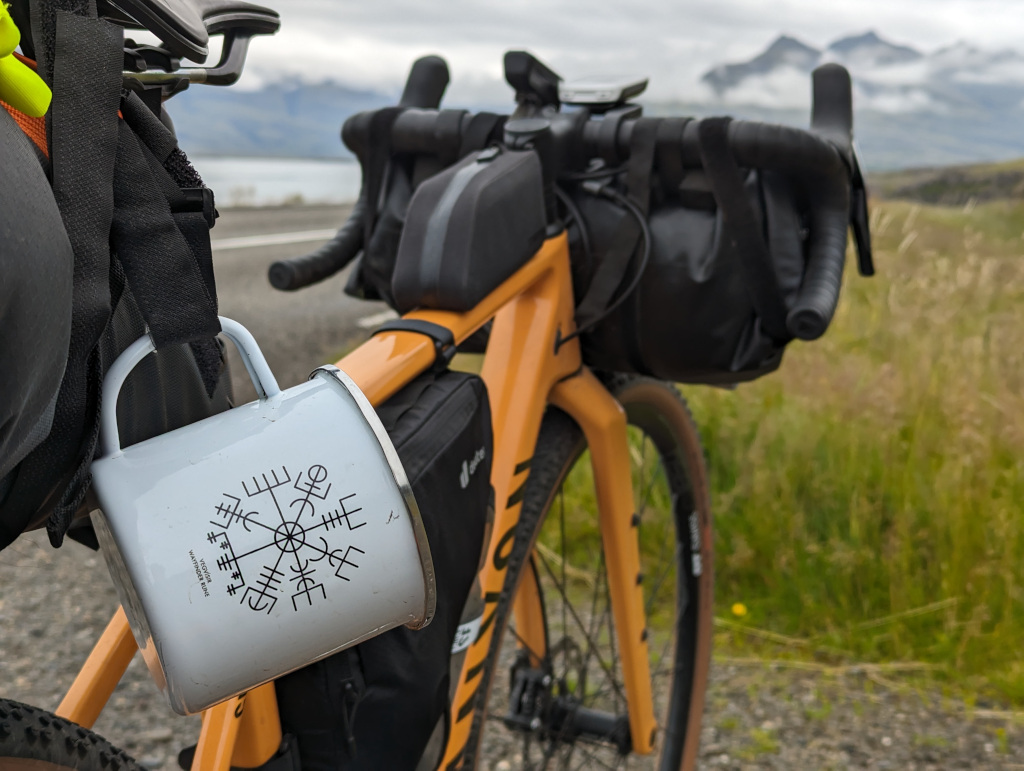
I walked through the city and bought an enamel mug to pack for the trip. The mug being enamel is vital because it doesn’t break easily and can be cooked directly on the camping stove. Perfect for camping. I had a few options for designs but one with the Vegvísir symbol stood out to me and when I learned what the rune stood for, I realised it fit perfectly for my travels. I hoped this mug would help me on my travels.
A vegvísir (Icelandic for “wayfinder”, lit. ’way shower’) is an Icelandic magical stave intended to help the bearer find their way through rough weather.
Source: https://en.wikipedia.org/wiki/Vegvísir
I had a hearty dinner in Reykjavík (I can recommend the burger at BASTARD BREW AND FOOD) to load up on fuel and spent the evening in the hotel room getting the supplies to fit into the bike bags. I felt a lot of excitement and energy and struggled to get a needed deep sleep. But I felt ready to start.
Photos
Gear List
Here’s the planned gear list from my Google Doc. It was broken down into the location of storage on my bike or person to help plan the packing process.
- Bike Bag (stored during ride)
- Pedal Tool
- Chino Pants / Other Clothes
- Handlebar Bag / Mount
- Tent
- Sleeping Mat
- Locks (z lok)
- Garmin Cycling Computer (Edge Explore)
- Frame Bag
- Cooking Equipment (pot, fry pan, spork)
- Gas Canister
- Cycling Tools (hex keys)
- First Aid Items
- Spare Tube x2
- Inner-Tube Patch Kit
- Tyre Levers
- Top Tube Bag
- Mini Pump
- Tissues
- Medicine
- Chain Lube
- Saddle Bag
- Sleeping Bag
- Selfie Stick
- Toothbrush + Toothpaste
- Towel
- Clothes
- T-shirts (x4)
- Underwear (x4)
- Socks (x3)
- Swimming Shorts
- Hoodie
- Sweat Pants
- Rain Gear
- Shoe Protectors
- Hiking Pants
- Rain Jacket
- Wear / Carry
- Drawstring bag
- Passport
- Wallet
- Phone
- Power Bank + Charger
- Sunglasses
- Cycling jersey (x1)
- Cycling undershirt (x1)
- Cycling bib shorts
- Cycling bib short extenders (leg covers)
- Socks (x1)
Interesting Links
Here are some of the webpages and personal blogs I found useful to read while planning my cycling trip.
- http://www.simplycycling.org/blog/2016/10/28/getting-in-and-out-of-iceland-with-a-bicycle
- Discusses the flying aspects, bag storage, etc (could be a bit outdated)
- http://www.simplycycling.org/blog/2016/10/7/what-to-know-about-cycling-iceland
- Discusses the actual cycling conditions (could be a bit outdated)
- https://bikepacking.com/plan/chris-burkard-iceland-gear-list/
- Ideas for the gear list
- https://gobackpacking.com/iceland-ring-road-camping/
- Some camping spot ideas
- https://theworldpursuit.com/camping-iceland-ring-road/
- More camping spot ideas
- https://www.imperial.ac.uk/media/imperial-college/be-inspired/exploration-board/public/Iceland-Perimiter-Cycle,-Exploration-Board,-Final-Report.pdf
- Someone’s personal account of their cycling trip
- https://campeasy.com/information-center/maps-of-iceland/
- Some various maps of iceland (campsites, hot springs, etc)
- http://members.iinet.net.au/~wheelbuddies/iceland/iceland2009/i200901.htm
- Someones detailed personal account of their ring road cycling trip (day-by-day retelling)
- https://en.vedur.is/weather/forecasts/areas/
- Weather forecast of Iceland (detailed with per region view)
- https://www.google.com/mymaps/viewer?mid=1An8nJ9qOdaWh-HEwzAKuzFurys-Z5Z4i&hl=en_GB
- Map of service stations and groceries
More
This recap is broken down into multiple posts. Follow the links below to read through the series.
- Introduction
- Day 0: Preparations, Airports, and Arriving
- Day 1: Reykjavík to Borgarnes
- Day 2: Borgarnes to Hrútafjörður
- Day 3: Hrútafjörður to Akureyri
- Day 4: Akureyri to Reykjahlíð
- Day 5: Reykjahlíð to Möðrudalur
- Day 6: Möðrudalur to Egilsstaðir
- Day 7: Egilsstaðir to Fossardalur
- Day 8: Fossardalur to Höfn
- Day 9: Höfn to Skaftafell
- Day 10: Skaftafell to Vik
- Day 11: Vik to Skógafoss
- Day 12: Skógafoss to Selfoss
- Day 13: Selfoss to Laugarvatn
- Day 14: Laugarvatn to Reykjavík
- Day 15+16: Reykjavík, Airports, and Home
- Reflection
